源碼安裝Apache
1.上傳Apache源碼安裝所需軟件包

2.安裝:
安裝順序
apr—>apr-util—>pcre—>httpd
安裝編譯環境
yum -y install gcc gcc-c++
apr 編譯安裝
tar xzf apr-1.4.6.tar.gz
cd apr-1.4.6
./configure --prefix=/usr/local/apr
make && make install
apr-util 編譯安裝
tar xzf apr-util-1.5.1.tar.gz
cd apr-util-1.5.1
./configure --prefix=/usr/local/apr-util --with-apr=/usr/local/apr/
make && make install
pcre 編譯安裝
tar xzf pcre-8.32.tar.gz
cd pcre-8.32
./configure --prefix=/usr/local/pcre
make && make install
httpd 編譯安裝
tar zxf httpd-2.4.41.tar.gz
cd httpd-2.4.41
./configure --prefix=/usr/local/apache --with-apr=/usr/local/apr --with-apr-util=/usr/local/apr-util/ --with-pcre=/usr/local/pcre/ --enable-so --with-mpm=prefork
make && make install
配置基于IP的虛擬主機 給主機添加IP
臨時添加(重啟網卡失效)
[root@localhost ~]# ifconfig eth0:0 192.168.153.155
[root@localhost ~]# ifconfig eth0:1 192.168.153.156
查看效果

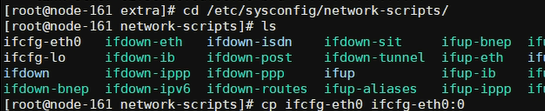
永久添加
復制網卡配置文件并編輯
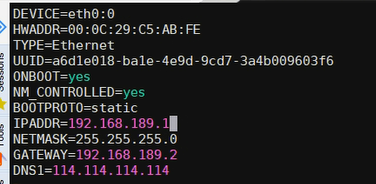
重啟網卡查看結果

創建兩個虛擬主機的網站根目錄和測試頁面
[root@localhost ~]# mkdir /opt/1806A
[root@localhost ~]# mkdir /opt/1806B
[root@localhost ~]# echo “1806A” > /opt/1806A/index.html
[root@localhost ~]# echo “1806B” > /opt/1806B/index.html
修改Apache的主配置文件
位置 : /usr/local/apache/conf/httpd.conf

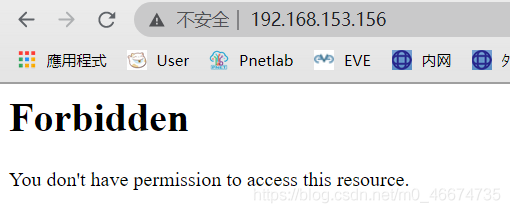
給虛擬主機的兩個網站根目錄授權
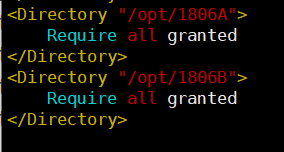
不然會報訪問被拒絕的錯誤,狀態碼為403
將包含虛擬主機這一行取消注釋

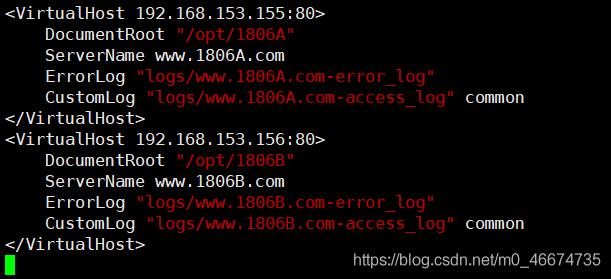
編輯虛擬主機配置文件
位置 :/usr/local/apache/conf/extra/httpd-vhosts.conf
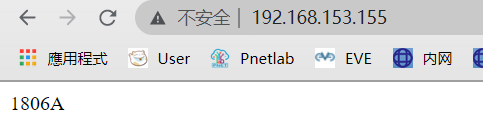
開啟Apache服務

查看效果

到此這篇關于Apache源碼安裝和虛擬主機配置的教程詳解的文章就介紹到這了,更多相關Apache虛擬主機配置內容請搜索腳本之家以前的文章或繼續瀏覽下面的相關文章希望大家以后多多支持腳本之家!